Mophead
Site Supporter
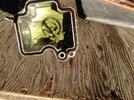
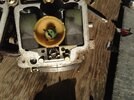
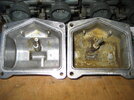
OK all you Honda Carb experts. Have a 1985 VF700F Interceptor and have carbs off for ultrasonic cleaning. Have everything taken apart, all jets removed, slides and spring out. I have not taken the idle screw valve out.
On this bike the manual says there is a plug that has to be removed to get to the idle screw. There were no plugs in these carbs and idle screw is clearly visible. Should I take the idle apparatus out before dunking in the cleaner or just leave them in? Getting those reset correctly after reinstalling the carbs could be tricky.
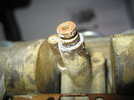
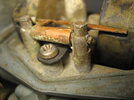
Someone has been into these carbs previously hence the missing plugs on the idle screw. Also, some rounded phillips screw heads on the float bowl covers. I have replacement screws for the float bowls. Sometimes it pays to rathole those 35 year old parts. Also have many jets left over and many are brand new. The connecting fuel rail lines seem to be in good shape (will replace the orings). Removing those fuel rail lines showed some older broken off ends still in the carbs but inspecting the lines the ends of them are all intact. After seeing this I wondered how the bike even ran at all. Now the old broken pieces are cleaned out and perhaps we can get a seal on those lines.
The last time I did carbs was about 35 years ago on a V65 Sabre. Had to do those three times before getting them right but was trying to shortcut a barn find and get it running. Had about 6000 miles on the bike and I sold it to a friend with 85,000 miles on it. I cleaned those with Berryman's carb cleaner with basket. That got them clean.
Anyway, collective wisdom from some of you who are old enough to have gone down this road. Take the idle crew valving and components out before dipping or leave them in?
My hesitation is from there being several springs, washers, etc on that idle screw assembly. Sourcing parts for this old stuff can be difficult so if it doesn't need to come out but going to all this work to have clean carbs it would probably wise to remove and inspect the idle screw stuff.
Have I answered my own question? When I get these back on and they don't work I want someone to blame like Uncle Phil or Sadlsor.
Oh, and what kind of witches brew do you use in your ultrasonic cleaner for carbs? I see all kinds of solutions water and simple green, and Pinesol, white vinegar, speciality powders to mix in (probably repackaged baking soda)


