v8-7
Site Supporter
I'm not sure of the circuit theory, but I think the thermistor functions as a switch to tell the computer to start the "miles remaining " countdown.
If you have more insight as to the circuit operation , post it up !
I ordered some thermistors from Mouser as the gauge has been working intermittently.
The part I used is the wrong form factor as it should have coaxial leads , but it works fine.
Do not cut the leads until the end .
To be safe , I put some shrink tubing around the thermistor to keep it from touching the can .
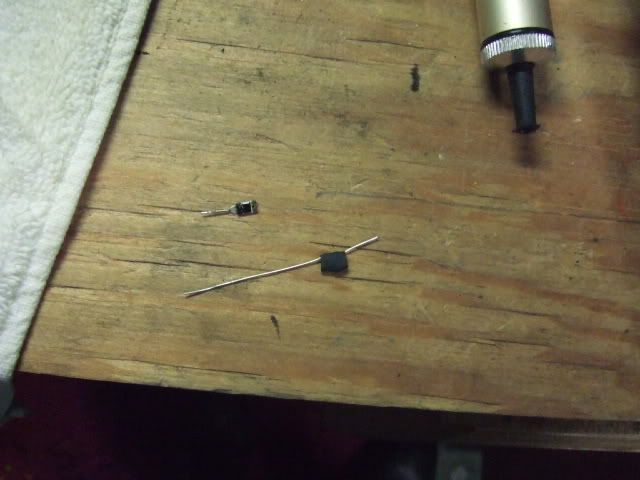
My gauge has been working since doing this 3 days ago, but because it was intermittent,
I'm not yet confident my problem is fixed , but if it was the thermistor, this should do it .
To do this job:
You will be working around gasoline , Don't be stupid or blame me if you blow up stuff.
special tools : 8 mm hex bit , soldering gun , solder , solder sucker or braid .
The fuel level should be below the upper tank .
I drove ~250 miles after filing up the tank and the level was well below the upper tank.
Disconnect the negative lead from the battery .
Remove the seat and the left and right side side covers .
Remove the seat bracket .
Remove the fuel pump assembly.
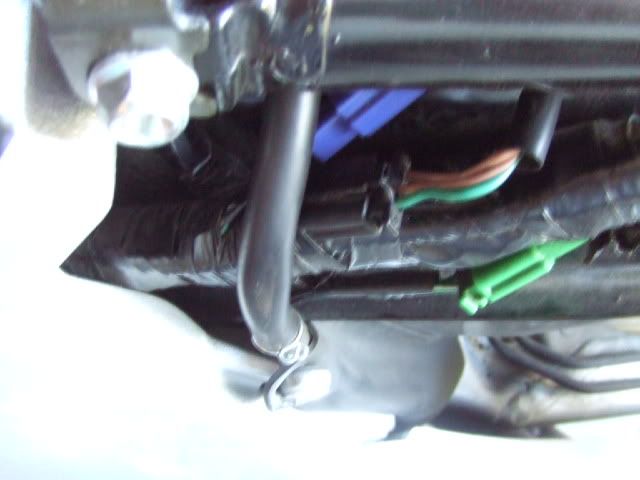
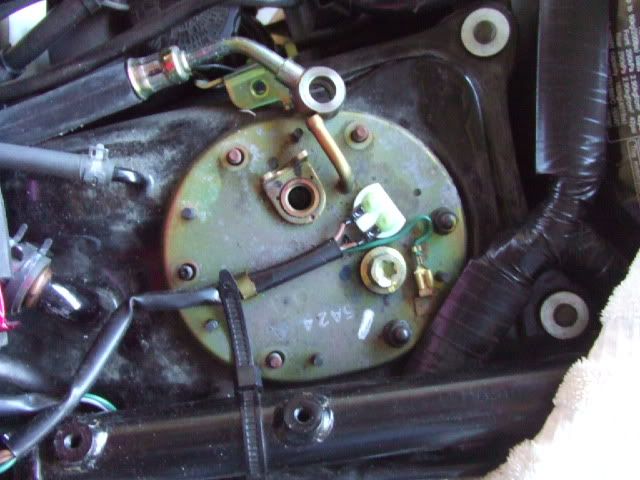
Drain the fuel out of the pump and filter.
Remove the bracket that holds the thermistor can .
Cut the wire off the can close to the can .
De-solder the can from the bracket
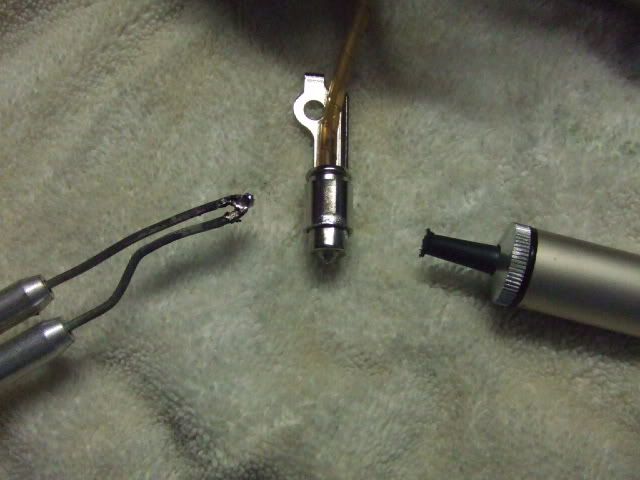
Slice the can open .
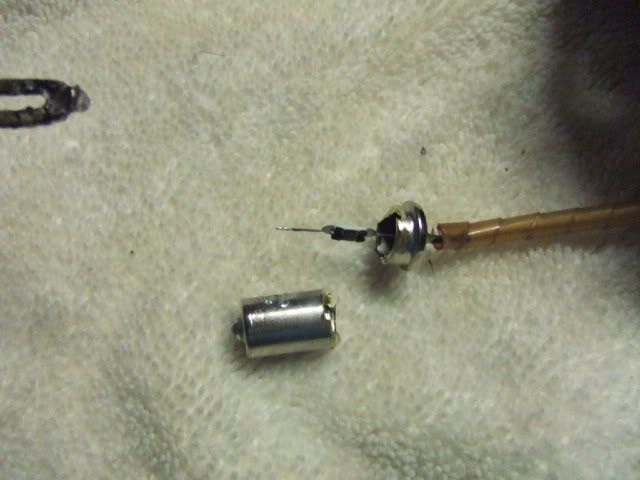
Unsolder the bottom of the thermistor to separate the two halves of the can .
There is a hole in the bottom of the can that will be opened up when you unsolder the wire.
Pull or cut the wire at the top ( inside ) of the can . remove the thermistor .
There will now be a hole at the top of the can as well as the bottom.
Insert the new thermistor leads into the can top and bottom .
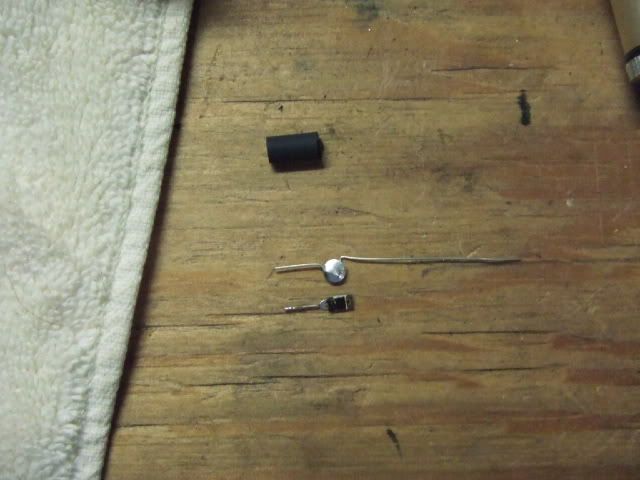
Clamp the can back together and solder it around the circumference.
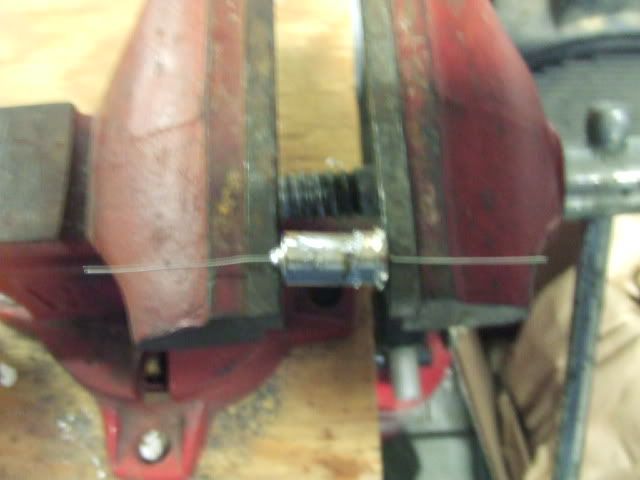
The can is not "sealed You will note that there are 3 holes and the top and bottom that are open to the fuel, so an airtight seal when soldering the can back together is not required .
Now center the thermistor inside the can, by pulling the leads.
Solder the top and bottom of the leads to the can .
Solder the wire from the bike connector to the lead .
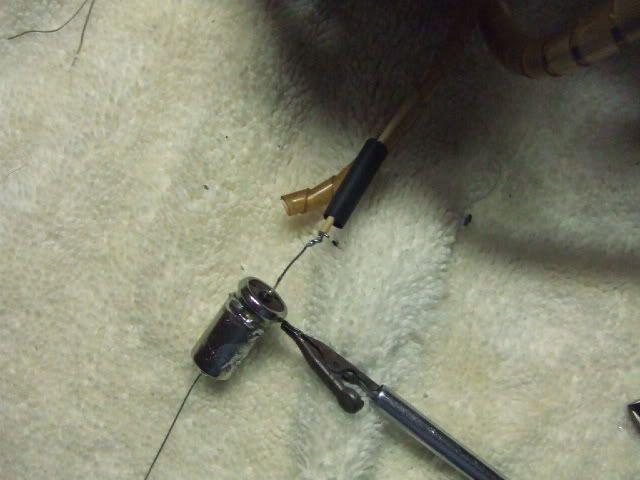
Reinsert the can into the bracket . I had to slightly enlarge the bracket hole to allow
for the new solder joint around the can circumference .
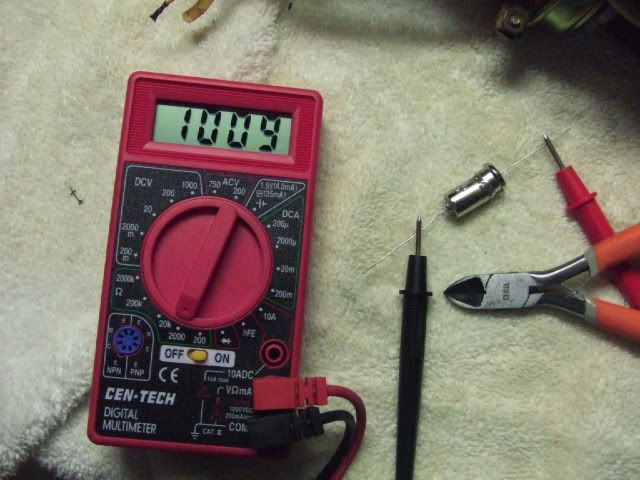
Tack solder the can back to the bracket .
Re-assemble , check for fuel leaks .
More pictures are here :
http://s219.photobucket.com/albums/cc215/v8-7/fuel gauge/
Edit : part that has worked 2 times in a row is digikey 570-1089-nd
http://search.digikey.com/scripts/D...ink=hp_go_button&KeyWords=570-1089-nd&x=0&y=0
If you have more insight as to the circuit operation , post it up !
I ordered some thermistors from Mouser as the gauge has been working intermittently.
The part I used is the wrong form factor as it should have coaxial leads , but it works fine.
Do not cut the leads until the end .
To be safe , I put some shrink tubing around the thermistor to keep it from touching the can .

My gauge has been working since doing this 3 days ago, but because it was intermittent,
I'm not yet confident my problem is fixed , but if it was the thermistor, this should do it .
To do this job:
You will be working around gasoline , Don't be stupid or blame me if you blow up stuff.
special tools : 8 mm hex bit , soldering gun , solder , solder sucker or braid .
The fuel level should be below the upper tank .
I drove ~250 miles after filing up the tank and the level was well below the upper tank.
Disconnect the negative lead from the battery .
Remove the seat and the left and right side side covers .
Remove the seat bracket .
Remove the fuel pump assembly.


Drain the fuel out of the pump and filter.
Remove the bracket that holds the thermistor can .
Cut the wire off the can close to the can .
De-solder the can from the bracket

Slice the can open .

Unsolder the bottom of the thermistor to separate the two halves of the can .
There is a hole in the bottom of the can that will be opened up when you unsolder the wire.
Pull or cut the wire at the top ( inside ) of the can . remove the thermistor .
There will now be a hole at the top of the can as well as the bottom.
Insert the new thermistor leads into the can top and bottom .

Clamp the can back together and solder it around the circumference.

The can is not "sealed You will note that there are 3 holes and the top and bottom that are open to the fuel, so an airtight seal when soldering the can back together is not required .
Now center the thermistor inside the can, by pulling the leads.
Solder the top and bottom of the leads to the can .
Solder the wire from the bike connector to the lead .

Reinsert the can into the bracket . I had to slightly enlarge the bracket hole to allow
for the new solder joint around the can circumference .

Tack solder the can back to the bracket .
Re-assemble , check for fuel leaks .
More pictures are here :
http://s219.photobucket.com/albums/cc215/v8-7/fuel gauge/
Edit : part that has worked 2 times in a row is digikey 570-1089-nd
http://search.digikey.com/scripts/D...ink=hp_go_button&KeyWords=570-1089-nd&x=0&y=0
Last edited:


