Uncle Phil, thanks to bring that subject and for the interesting link on ST-Rider.net.
I do remember that someone (
@Jim Van if I remember correctly) was doing it every year, before storage.
I too have to put my bike in storage for 6 months every canadian winter (from mid-october to mid-april).
I use fuel stabiliser. But, yes... there is an advantage of draining the carbs : to remove any mud or small contaminant that could be in there.
So, I think I'll try that. And I might try it before storage : just to make sure the bowls are clean.
And doing it during a nice september afternoon will be better than in a cold mid-october day.
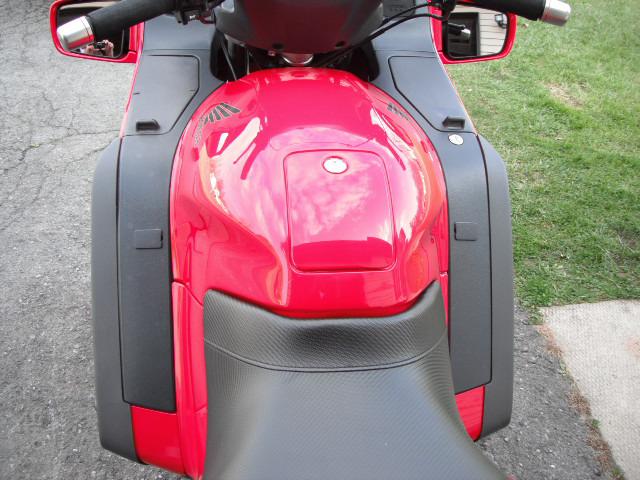
Speaking of the article on ST-Rider, I've never seen those optional "Fairing Extension" before.

That's interesting.
I don't want to change the subject of your thread. Just a little aside.