The biggest problem bleeding the brakes on my 2008 ST-1300 is getting to the bleeder behind the fairing on the right side. I was thinking of adding a section of brake line from the block with the bleeder to a more accessible place, such as the opening directly below, near where the oil fill opening is located. Has anything like this been done?

You are using an out of date browser. It may not display this or other websites correctly.
You should upgrade or use an alternative browser.
You should upgrade or use an alternative browser.
Make easy bleeder location for fitting behind fairing?
- Thread starter Yaesu
- Start date
Sadlsor
Site Supporter
Seems like a solution looking for a problem.
How often do you bleed your brakes?
Most of us only do it once a year, or every other year.
Taking off the red dress once a year doesn't seem like an issue, I don't mind looking around "under the hood" once in a while. It's good to know it's all ok in there, for your confidence and also to catch potential issues early.
No, to your question -- I'm not aware anyone has done that.
IIRC, @Igofar has posted numerous times that you can bleed the brake system correctly w/o removing the right side fairing. I forget what Larry said (I no longer have an ST) but I think you raise the gas tank, remove a bolt or two and pull the fairing out away from the frame along its top edge. Then that pesky bleeder is accessible. Maybe Larry will chime in.
The brakes can be bled in 30 minutes or less, without removing any Tupperware.
Trying to modify the bleeder route is just asking for trouble, and a pretty silly thing to do.
If the OP needs help with how to bleed the system he can always call me on the white courtesy phone.
Trying to modify the bleeder route is just asking for trouble, and a pretty silly thing to do.
If the OP needs help with how to bleed the system he can always call me on the white courtesy phone.
Bleeder locations are designed so it's at a place where air would rise to. You would not place a caliper bleeder at the bottom of the caliper.The biggest problem bleeding the brakes on my 2008 ST-1300 is getting to the bleeder behind the fairing on the right side. I was thinking of adding a section of brake line from the block with the bleeder to a more accessible place, such as the opening directly below, near where the oil fill opening is located. Has anything like this been done?
It would work for replacing the fluid, although not ideal for removing air. Personally for the cost and effort I wouldn't bother since replacing the fluid is an annual/bi-annual process and these kinds of maintenance tasks gives me something to do during the long cold winters.
The brakes can be bled in 30 minutes or less, without removing any Tupperware.
Trying to modify the bleeder route is just asking for trouble, and a pretty silly thing to do.
If the OP needs help with how to bleed the system he can always call me on the white courtesy phone.
Hi. Do you have a write-up somewhere you could kindly share? I have searched on the forum and wasn't able to find one. YouTube videos all have fairing removed.
Shortcut for bleeding the PVC under the right middle cowl. Just look at the right middle cowland imagine what fasteners have to be removed to pull the back edge of the cowl out away from the bike about 1.5 to 2". Remove the necessary fasteners and pull the cowl out from against the gas tank and frame - then slip anything about the right thickness between the cowling and the frame to hold the opening open. I used a small block of wood. Reaching through the gap place a box end wrench and hose on the bleeder. I can't remember if the hose didn't pass through the opening in the cowling but whatever it takes to get the hose on the bleeder. Evacuate the reservoir of old fluid and debris and top off with new fluid. Pump the foot brake to flush clean fluid through it and bleed it of old fluid and air bubbles, CHECKING the reservoir level after about 8-10 pumps. Top off fluid and 8-10 pumps again, then check again and top off as many times as necessary to bleed the circuit. Under braking with both hand and foot pressure if the pedal still has a "drop" when the hand brake is slowly released before the pedal is some air still remains in this circuit. For some reason this circuit is stubborn to hold onto that last big bubble but not impossible.
Attached is a document many use to flush and bleed the entire hydraulic system of the 1300.
Attached is a document many use to flush and bleed the entire hydraulic system of the 1300.
Attachments
Sadlsor
Site Supporter
Asking, because I don't know... will simply operating the rear brake as above (or the front, or either one?) actually activate the proportioning valve?
I've used the document that Dave attached to bleed my brakes last time, but I've slept since then.
I forget.
But I do recall I went through the entire sequence, including the proportioning valve.
Due to mild (really very mild) anxiety over possibly - which would be more likely for me - cracking the upper cowl, I just took the thing off. No big deal.
And no broken plastic.
Shortcut for bleeding the PVC under the right middle cowl. Just look at the right middle cowland imagine what fasteners have to be removed to pull the back edge of the cowl out away from the bike about 1.5 to 2". Remove the necessary fasteners and pull the cowl out from against the gas tank and frame - then slip anything about the right thickness between the cowling and the frame to hold the opening open. I used a small block of wood. Reaching through the gap place a box end wrench and hose on the bleeder. I can't remember if the hose didn't pass through the opening in the cowling but whatever it takes to get the hose on the bleeder. Evacuate the reservoir of old fluid and debris and top off with new fluid. Pump the foot brake to flush clean fluid through it and bleed it of old fluid and air bubbles, CHECKING the reservoir level after about 8-10 pumps. Top off fluid and 8-10 pumps again, then check again and top off as many times as necessary to bleed the circuit. Under braking with both hand and foot pressure if the pedal still has a "drop" when the hand brake is slowly released before the pedal is some air still remains in this circuit. For some reason this circuit is stubborn to hold onto that last big bubble but not impossible.
Attached is a document many use to flush and bleed the entire hydraulic system of the 1300.
Thank you so much for write-up and doc. Gives me confidence to do this.
Clutch fluid has been on low mark since I bought the bike two weeks ago. Need to decide on a CSC rebuild or new OEM CSC - rebuilds reliable long term? New OEM CSC is double the cost of rebuild kit but don't mind getting that if it's better to do so. Clutch engages and gears shift all okay currently but don't know how to diagnose the cause without CSC removal. Bike has done 54k miles.
My observation is pretty simple.... Honda apparently gave no thought to an "average" owner ever being able to quickly, easily, safely and perfectly perform brake / clutch fluid changes..... Or valve clearance.....Shims under bucket? Coolant too is in the mix....
My aircraft ownership and maintenance tasks were frustrating on occasion. But....access to fluids and such for checking or changing or topping off.....easy. Some nicely hinged or Dzus fastener inspection doors....there they were.
The ST plastics ...if damaged or scratched or push pins going astray or shouldered panel bolts...not all the same...did previous hands possibly mix up placement..yes..... The joke of the Clutch Slave Cylinder bleed.....anyway....
When I was in the RCAF / CAF.......great days....Cold War and all.... my ground job....was Squadron Maintenance Officer....we flew CF- 101B Interceptors......what a view from the front seat. Lots of maintenance required......not difficult with proper tools and fixtures and...well trained Techs and NCO's ....great management. Bend stuff out of the way when removal is proper....not a chance.
I have toyed with the idea...involves a quality hole saw......proper opening made on side panel....choices of plugs and grommets etc.....fill the hole. Put a nice HONDA logo on the thing.. Becomes a farkle. Easy to access bleeder, proper wrench used, bit of clear tubing.....pump away. Any spillage? no worry really, BF washes away with water......
With there being easily 330 plus riding days (in calendar year) where I live....Prepared to do proper maintenance.....not prepared to turn that into a bi annual wrench turning, broken fasteners etc..because HONDA cheaped out..... At 79, I might be on the back side of life....and that is ok,,,,
Some levity
Last edited:
Average owner OR Honda dealership mechanics. It's been my understanding that shim under bucket is the most reliable and long lasting way to set valve clearance.My observation is pretty simple.... Honda apparently gave no thought to an "average" owner ever being able to quickly, easily, safely and perfectly perform brake / clutch fluid changes..... Or valve clearance.....Shims under bucket? Coolant too is in the mix....
...
I have toyed with the idea...involves a quality hole saw......proper opening made on side panel....choices of plugs and grommets etc.....fill the hole. Put a nice HONDA logo on the thing.. Becomes a farkle. Easy to access bleeder, proper wrench used, bit of clear tubing.....pump away. Any spillage? no worry really, BF washes away with water......
I have toyed with that very idea too. The only thing holding me back is how big and exactly where to make that hole - after all, there's only 1 chance at getting it right.
This shouldn't be difficult. This is how I'd do it. Take the fairing off, put a wrench and hose on the nipple, and see how much clearance is needed. Then I'd make a mock-up with a hole in cardboard, tape it in place and see if I could do the work thru the hole. Masking tape on the tank, then draw a witness line (vertical) on the tape showing the CL of the hole. Middle Cowl back on the bike, masking tape below the mark, transfer the CL down and measure down to the center of the hole. Drill and you are finished.I have toyed with that very idea too. The only thing holding me back is how big and exactly where to make that hole - after all, there's only 1 chance at getting it right.
However, I always enjoyed (sort of) removing the fairing because I took that opportunity to do other work on the bike and/or check things. I rarely did only one bit of PM - like bleeding the brakes and nothing else. Before the fairing went back, I cleaned and waxed it. In Cleveland we have months of down time due to snow and ice, so I usually did all my routine maintenance in the winter, hoping (usually successfully) not to have mechanical down time during the riding season. More than once I replaced brake pads or tires when they had some life left because I did not want to deal with replacement during summer. But that's me. YMMV.
Andrew Shadow
Site Supporter
I disagree. That maybe the case insofar as mechanically adjusted valves go but with a mechanical valve train the adjustment changes over time as parts wear. This is why regularly scheduled checks are called for and why re-adjustment is required. The most reliable way to keep valves in proper adjustment over the long term is with hydraulically adjusted valves. Wear to any of the parts in the valve train is automatically compensated for on a continual and on-going basis in real time resulting in the valves always being in proper adjustment without the need for any intervenention.It's been my understanding that shim under bucket is the most reliable and long lasting way to set valve clearance.
Manufacturers use mechanically adjusted valves for a host of reasons such as fewer parts (less cost to them), less complex engine design and manufacturing (less cost for them), less valve train weight which not only allows for higher RPM's but it also allows the engine to rev up faster, more horsepower, etc.. None of these are significant advantages on a sport-touring or touring motorcycle in my opinion. Most of these advantages would not even be noticed by most riders. If a person is seeking top tier sport-bike like performance, including the little extra oomph that mechanical valves might offer, they should not be expecting to find it in a sport-touring or touring motorcycle, they should be looking at a sport-bike.
I would be more than happy to have hydraulically adjusted valves on my ST1300. I had hydraulically adjusted valves on my Honda Shadow 1100CC and I never had to touch the valves once in over 240,000 KM, 150,000 miles. I never even removed the valve covers during that whole time. That is a much more desireable advantage to me on a sport-touring or touring motorcycle that is intended for long distances.
I agree with you, that hyd. adjustment is the best. However, I was thinking mechanical adjustment methods when I wrote that.I disagree. That maybe the case insofar as mechanically adjusted valves go but with a mechanical valve train the adjustment changes over time as parts wear. This is why regularly scheduled checks are called for and why re-adjustment is required. The most reliable way to keep valves in proper adjustment over the long term is with hydraulically adjusted valves. Wear to any of the parts in the valve train is automatically compensated for on a continual and on-going basis in real time resulting in the valves always being in proper adjustment without the need for any intervenention.
Manufacturers use mechanically adjusted valves for a host of reasons such as fewer parts (less cost to them), less complex engine design and manufacturing (less cost for them), less valve train weight which not only allows for higher RPM's but it also allows the engine to rev up faster, more horsepower, etc.. None of these are significant advantages on a sport-touring or touring motorcycle in my opinion. Most of these advantages would not even be noticed by most riders. If a person is seeking top tier sport-bike like performance, including the little extra oomph that mechanical valves might offer, they should not be expecting to find it in a sport-touring or touring motorcycle, they should be looking at a sport-bike.
I would be more than happy to have hydraulically adjusted valves on my ST1300. I had hydraulically adjusted valves on my Honda Shadow 1100CC and I never had to touch the valves once in over 240,000 KM, 150,000 miles. I never even removed the valve covers during that whole time. That is a much more desireable advantage to me on a sport-touring or touring motorcycle that is intended for long distances.
Andrew Shadow
Site Supporter
Not sure that I agree with that either. It might well be a case of it being the best system in theory and on paper, but in the real world where the motorcycles are actually used I am less convinced. However, we have strayed to far off the topic of this thread already so I'll leave it there.
ST Gui
240Robert
One last bit of straying — one of Honda's best bikes IMNSHO was the 650 Nighthawk/CB650SC.

Inline 4
Hydraulic valves <— FTW!
6-speed
air cooled
Shaft drive
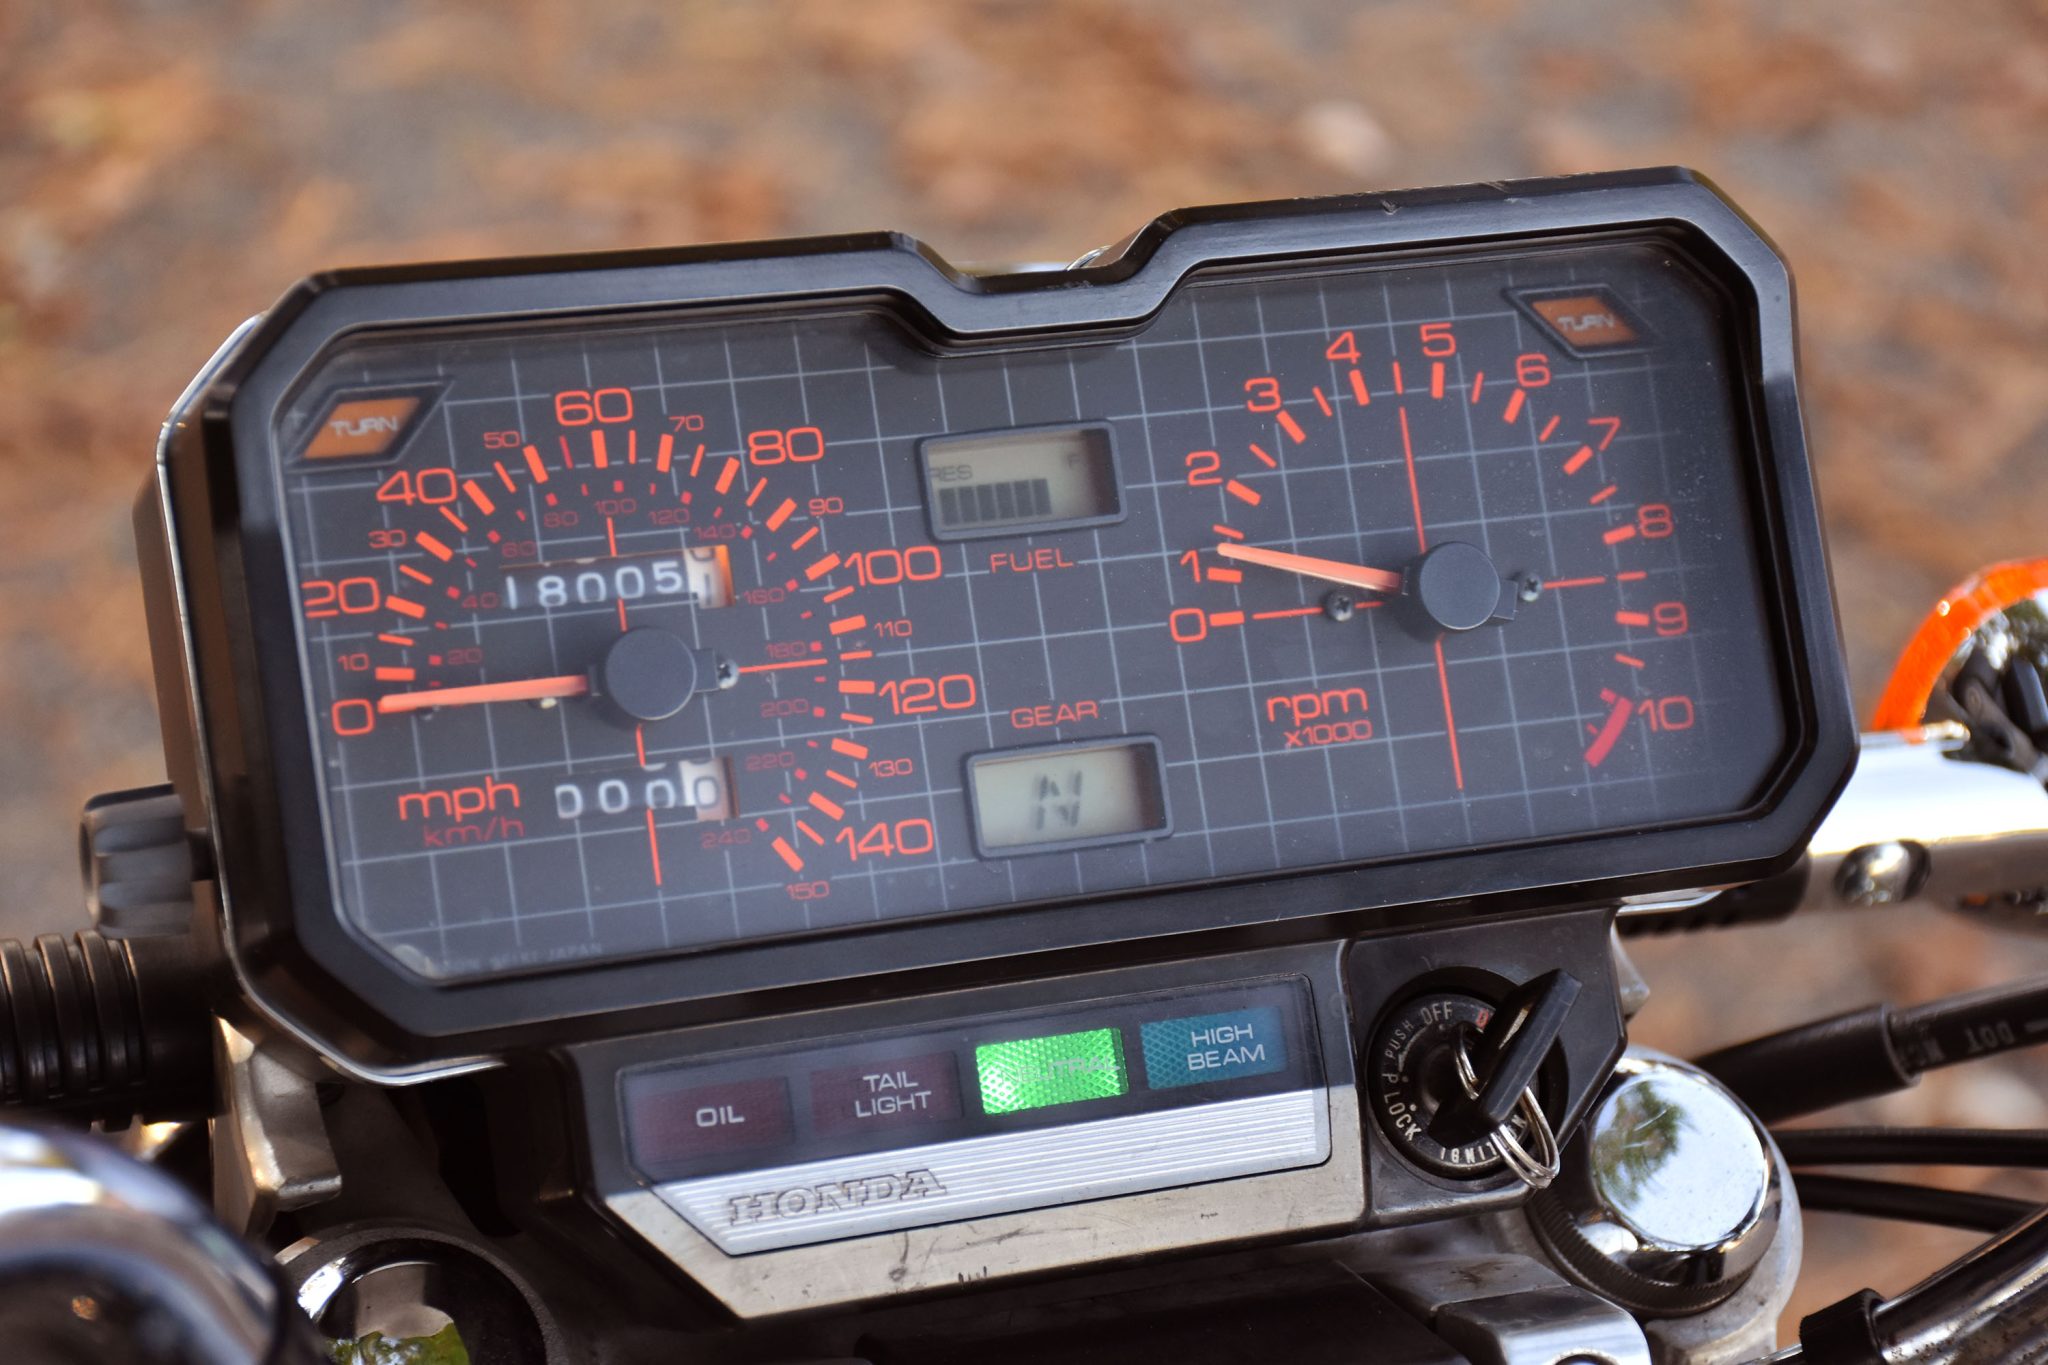
Fuel gauge
Gear indicator
Beautiful
This bike had it all. A terrific UJM. Or UM even. This would have been a great stablemate to my V65 Sabre. I like the styling of the V45 a bit better but – hydraulic valves!
Inline 4
Hydraulic valves <— FTW!
6-speed
air cooled
Shaft drive
Fuel gauge
Gear indicator
Beautiful
This bike had it all. A terrific UJM. Or UM even. This would have been a great stablemate to my V65 Sabre. I like the styling of the V45 a bit better but – hydraulic valves!