SoCalST8
Vendor
Thanks for the reminder! I will get it done ASAP.

Sooo....I did this today and the fluid came out clear (77,000 km). I topped it up with fork oil...I'll see if it makes any difference.

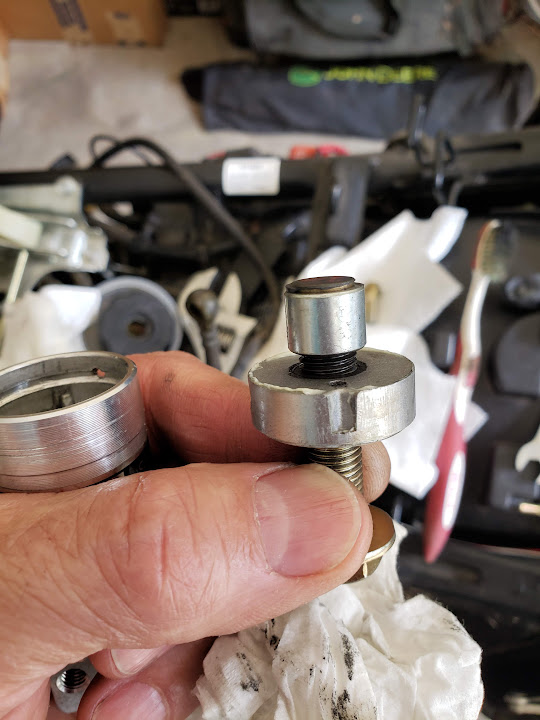

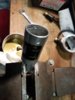
For anyone interested in what the inside of the adjuster looks like and how it works I took a bunch of pics. I used the excellent on-bike procedure Igofar described in post #7 here.
https://photos.app.goo.gl/srubXzDrrFMFkJzM8
It was necessary to drill a small hole - just visible above - to remove the steel retainer ring, but I understand that '07 and later year models already had the hole.
The copper banjo seals were annealed with a butane lighter and reused, it's easy and quick. Copper gets hard and brittle with work and age, annealing restores the flexibility and ductile character necessary. The same can be done to aluminum seals, too, a slightly different process, the same tools.
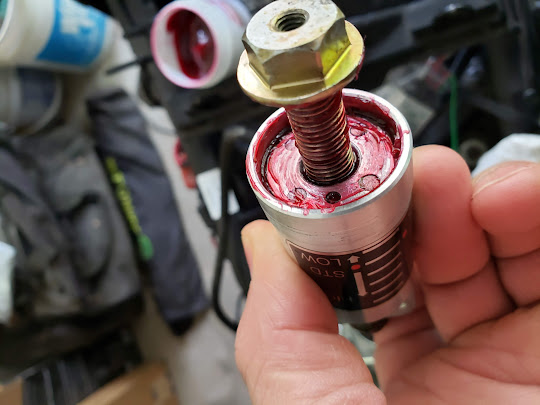
Also, the inside walls of the cylinder (exterior to the oil) are subject to water from the breather holes in the threaded plug. I was concerned that the moisture would cause corrosion on the cyl wall and the steel piston and the threaded adjuster. All of these were wiped with Red Rubber Grease for moisture protection. An alternative without disassembling would be to shoot some spray-can white lithium grease in thru a vent hole. Hold the cyl wrapped in a rag because stuff comes out of the other hole promptly.
How did you get the Emery cloth out? The bolt hole is small, and would be extremely hard to removeI went one step further and used some very light emery cloth to polish the inside of the cylinder. Mine was rougher than I liked for a hydraulic unit.
How did you get the Emery cloth out? The bolt hole is small, and would be extremely hard to remove
Tdinova,
Go to my post #68 above and look at the first pic. That's the cylinder on the left and the adjuster that came out of it on the right. Once the adjuster comes out you can push the piston out from the banjo bolt hole. Then you have enough room to get fingers or thumbs all the way in. There are pics of the empty cylinder in the link. Cleaning is EZPZ.
Or.....you could ride your bike over to Tucson and visit the ST-Whisperer, and I could do your pre-load adjuster for you, as well as inspecting several other things you may need that you didn't know aboutThis will be my project for this week, I hope, time is a always a struggle for me with working nights, often 6 days a week and often 12 hour shifts.
I only get resistance with about 5 clicks left to the knob being at max preload, I am sure this thread will be of great help, thanks to you all for the contributions in here, it really helps a noob like me with this type of bike.


Or.....you could ride your bike over to Tucson and visit the ST-Whisperer, and I could do your pre-load adjuster for you, as well as inspecting several other things you may need that you didn't know about