ST1100 Valve Clearance

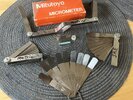
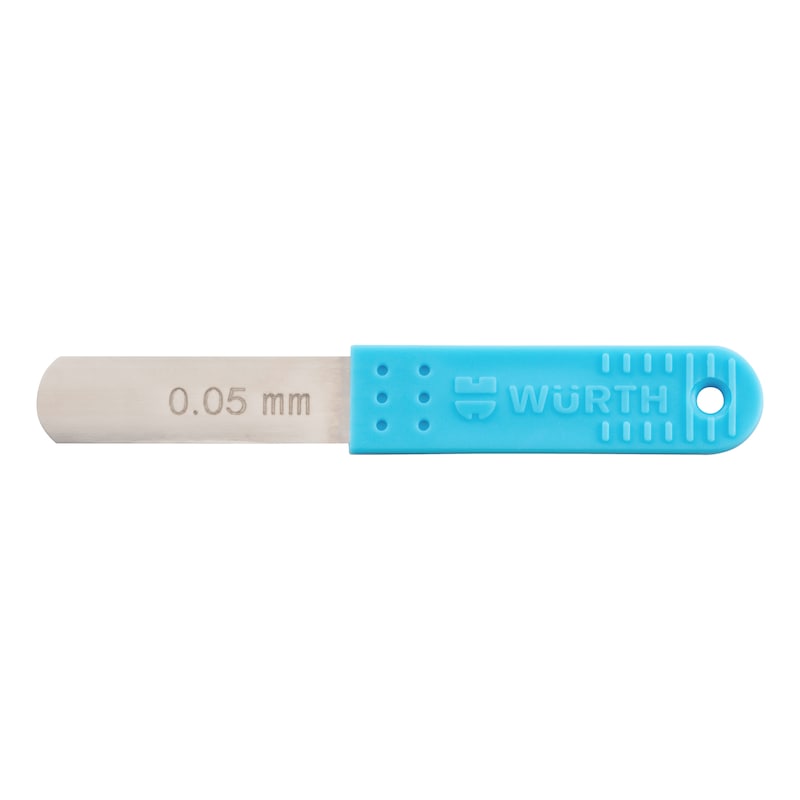
Thanks for lots of good information and guidance. Preparing well but getting valve gauge blades was not easy, have been promised to get valve gauge blades from Würth on Thursday.

Example
b: recorded valve clearance = 0.18 mm
c: specified valve clearance = 0.16 mm
d: old shim thickness = 1.850 mm
a = 0.18 - 0.16 + 1.850
a = 1.870
New shim thickness = 1.875 mm

Looking at the calculation example that was set up to use the correct shim, did not understand the choice of shim thickness 1.875 mm until I saw which shim dimensions you can buy. Cut out from the shim list here.

«14926-KT7-013 SHIM, TAPPET (1.825) 182
14927-KT7-013 SHIM, TAPPET (1.850) 185
14928-KT7-013 SHIM, TAPPET (1.875) 188
14929-KT7-013 SHIM, TAPPET (1.900) 190
14930-KT7-013 SHIM, TAPPET (1.925) 192»

I have started disassembling and taking some measurements, have tried to measure valve clearance even though I do not have all the valve gauge blades I need to get correct measurements. But what I see now is that both intake valves on cylinder number 2 are too tight, the camshaft needs to come out and new shims need to be put in place.

Posted a post earlier in the thread here but I am not going to buy a complete shim set, I choose to buy shims from a local motorcycle repair shop according to what I need.

But first I need to get all the valve gauge blades I have ordered from Würth to get accurate measurements then I will take it from there :thumb:

IMG_0336.jpeg
 
The good news is that the ST1100 has to be about the easiest bike of all to change shims on. They could not be much easier to access, as your photo illustrates. This may be teaching you to suck eggs but my tips would be:
1. Cams are hollow and may pour oil into your shoe when removed
2. The split gears on the cams are sprung and will appear to push the cam out of alignment but that should correct as the saddles are retightened
3. I use some Tipex to mark the gears and adjacent saddle so I can drop the cam back in just the right spot
4. Always, always use a torque wrench on the hold down bolts and especially the cam cover bolts
5. Put a smear of sealant on the half-moon cutouts
6. Use a magnet to lift out the cam buckets, that will also ensure the shim comes out attached
7. Stuff some rags into the various places where you don't want to drop random parts
8. Oil up the parts when you reassemble especially the cam buckets
9. When you have the cams bolted back in, rotate the engine by hand a few times to check for correct operation, and recheck clearances
 
Last edited:
I doubt you'll need to change shims out. Save the 100 bucks and buy the 1 maybe 2 shims youll need. My bike was well within spec at 65K. My top tip is: you don't need to take half the crap the videos and manual says. You don't have to remove the mid fairing and the U shaped piece that shrouds the radiator. I just removed the two bolts in the back of the mid fairing to allow enough room to remove the valve cover. You do have to remove Side covers, side pockets airbox cover, seat, side vent panels ,and maybe the bell pan.
 
One more critical thing, note and mark which direction the split cam drive gear halves turn from each other.
I missed this part and broke a cam gear once.
You think I mark the gears this way, red mark on the tooth of the thin gear and red mark on the wide gear before disassembling the camshaft...?

IMG_4922.jpeg
 
You think I mark the gears this way, red mark on the tooth of the thin gear and red mark on the wide gear before disassembling the camshaft...?

IMG_4922.jpeg

I'd also remove the plugs (again: use crumpled pieces of blue workshop paper towels to block openings), eases rotating the engine by hand... a lot... ;)

And I have a large flat bladed screwdriver at hand to tweak the split cam drive gears upon installing...
 
I'd also remove the plugs (again: use crumpled pieces of blue workshop paper towels to block openings), eases rotating the engine by hand... a lot... ;)

And I have a large flat bladed screwdriver at hand to tweak the split cam drive gears upon installing...
The spark plugs are already out as I have tried to measure valve clearances but with too big jumps between valve gauge blades I am waiting for a set of valve gauge blades which were not in stock at Würth anyway as I was told.

Good tip by having a large flat bladed screwdriver to tweak the split cam drive gears upon installing :thumb:
 
I am waiting for a set of valve gauge blades which were not in stock at Würth anyway as I was told.
Got those (5 piece set, bend accordingly), slightly disappointing that they're only avail in 0.05mm steps though...


Good tip by having a large flat bladed screwdriver to tweak the split cam drive gears upon installing :thumb:
Applied gently the cam just fall into place without much stress on the bearing shells (which are actually just bores in the aluminum...)
 
Last edited:
I have searched online for a Feeler Gauge Set that is good to use for valve adjustment where the valves have shim adjustment to get the most accurate measurement possible. But I can't find anything that is perfect.
 
My attitude towards valve adjustments is this... if it ain't broke, don't fix it...

In spec, is in spec... even if it's right up against the edge, especially an older bike that's settled in.

There have been members that messed something up in the process of trying to put the measurement into the middle or to the extreme ranges... so for me.. I don't care to add the risk of screwing something up when the bike is 'in spec'.
 
Last edited:
Not buying into the simple method using SAE thousandths of an inch, huh? For 15 Euros you can get these SAE feeler gauges sent to Norway IINM/FWIW/YMMV/JMHO:

https://www.amazon.co.uk/Spurtar-Blades-Measurement-Measuring-Thickness/dp/B07B3TQQSV

Edit: ah shoot, I thought these were just SAE, not dual marked. Well, I’m sure they have a straight SAE only set, dig a bit deeper. You get my drift anyway, they’re available to Norwegians. :)
 
Last edited:
The sizes you'd listed look like inch values in mm... I'd confirm with micrometer while using them...

I just noticed this. I agree with my long-time friend, Martin. Appears to me SAE feelers. From the post (#31) above:

.005”=0.127 mm
.008”=0.203 mm
.010”=0.254 mm

Edit: with the set that you ordered above, I’d say you’re good to go to measure valve clearances in thousandths of an inch. Can’t adjust a clearance any finer than that anyway, unless you shave a shim or special fabricate one thinner than OEM.

John
 
Last edited:
My attitude towards valve adjustments is this... if it ain't broke, don't fix it...

In spec, is in spec... even if it's right up against the edge, especially an older bike that's settled in.

There have been members that messed something up in the process of trying to put the measurement into the middle or to the extreme ranges... so for me.. I don't care to add the risk of screwing something up when the bike is 'in spec'.
I agree with you there, what I have seen so far after measuring all the valves with the feeler gauges I have had lying around for many years. All the valves are within tolerance range except for both intake valves on cylinder number 2 which I have measured to 0.05 mm and 0,03 mm, here the camshaft must be dismantled for new shims so the measurement comes within 0.13 - 0.19 mm

Before I do anything I will take a new measurement of valve clearances as soon as I get new feeler gauges which are supplemented with the ones I already have. Got new head gaskets today :thumb:

IMG_0350.jpeg

IMG_0351.jpeg
 
Not buying into the simple method using SAE thousandths of an inch, huh? For 15 Euros you can get these SAE feeler gauges sent to Norway IINM/FWIW/YMMV/JMHO:

https://www.amazon.co.uk/Spurtar-Blades-Measurement-Measuring-Thickness/dp/B07B3TQQSV

Edit: ah shoot, I thought these were just SAE, not dual marked. Well, I’m sure they have a straight SAE only set, dig a bit deeper. You get my drift anyway, they’re available to Norwegians. :)
Thank you :thumb: I basically want to buy the Feeler Gauge Set in mm, always worked with mm which Honda also operates with, I will continue with that.
 
FWIW, here is my collection of valve clearance tools. Once I figured out the inch method, for my ST1100 I only need/use the nine feelers (4-12 thousandths) on the chain at the bottom of the image (click on it for a nice clear picture):
 

Attachments

  • IMG_2817.jpeg
    IMG_2817.jpeg
    271.5 KB · Views: 20
Back
Top Bottom